
This effect requires some preparation and relies on three key elements:
- Shoot in low light conditions, preferably at night or dusk when natural light is scarce.
- Adjust the settings on your camera or phone, especially if you have a “Pro” mode that allows long shutter speeds.
- Use an additional light source, such as an LED, a fluorescent light bracelet, a small torch or even a small flame or torch.
Before continuing, it is important to clarify what is meant by “long exposure”. This term refers to a photographic technique in which the camera captures light for a considerable period of time, ranging from a few seconds to minutes or hours. It is usually done in low light conditions, and if it is to be done in daylight, so-called “ND” filters are used to reduce the amount of light entering the camera. To achieve good results in long exposure shooting, it is essential to have a tripod or to make sure that the camera is stable and does not move during the exposure.
To take a long exposure shot, it is necessary to set the camera in manual mode and set the ISO to the lowest possible value, such as 100 ISO. In addition, a very narrow aperture, represented by a high “f” number, should be used. This means that the higher the f-number, the tighter the aperture. For example, my lens reaches f22, which is the value I have used. Once you have set these parameters, you need to choose the right place for the shot, place the camera on a tripod and use a shutter delay function to give you time to move with the light source into the scene before capturing the image by pressing the shutter button.
Let’s get to work
Once we have set the camera for a delayed shutter release, for example within 10 seconds of pressing the shutter release button, we need to move to the focus area and start creating with the light source. Here we have total freedom to be creative. We can try different movements, spin around with our hands, even draw our name in the sky or sketch the shape of what we want to photograph. It is important to remember to do everything with agility, keeping fast movements. The light source will be “printed” on the photo, but you won’t appear in it – it’s like magic!
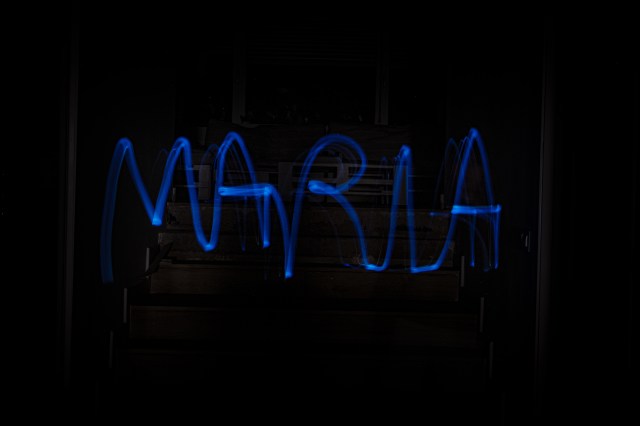
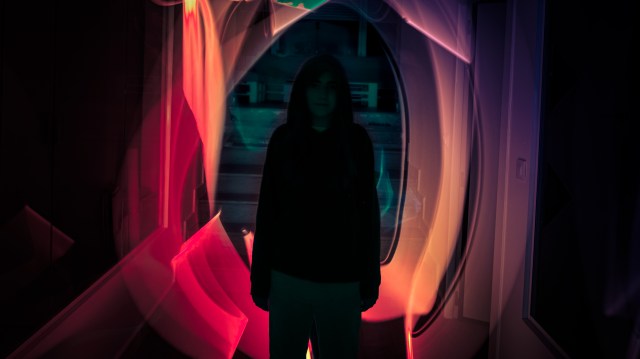
To create the images I present to you, I used two scenarios. First, I selected my daughter Maria as a model to test at home. In the image with her name, she wrote in the air herself with glow sticks. In the second image, I placed María still in front of the lens while I, using an LED lamp, moved behind her energetically for a few seconds.
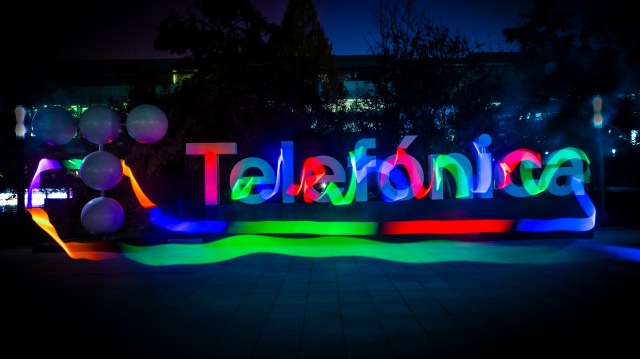
The second scenario was in the Telefonica District, in the central square where our logo is located. Here I took several shots, again using a portable LED lamp. These were shots with the camera on a tripod and a long exposure time (between 30 and 60 seconds, depending on the shot), where I moved freely to generate these striking traces of light.
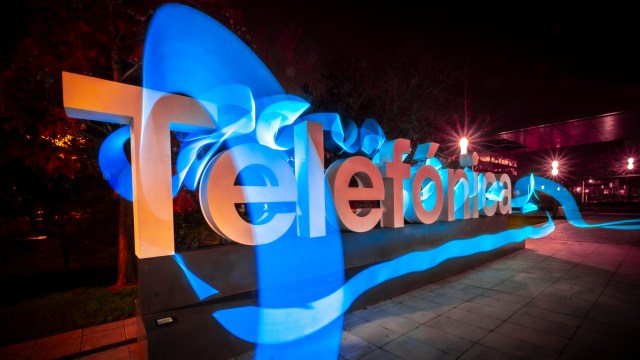
Don’t hesitate to take several shots; although it will take a bit of time, in the end you will have a variety of options to choose from.